So then. With the two main games introduced in the first post, this is a bit more detail into the specifics of Squishies.
The core mechanic of Squishies revolves around softbody physics. I think my first introduction came from this article which is more easily digested via the accompanying video. It was only when I actually started messing around with this stuff that I realised how easy it can be, particularly given the seemingly magic & complex results.
Ultimately though, and I'll try and summarise it in my own way, it boils down to a few high-level concepts:
- Point masses, subject to gravity and other forces that otherwise act independently.
- Joints, which hold these point masses together, forming the actual softbody.
- Collisions, which determine how softbodies interact with each other and the world around them.
The game itself is written in C++ but I'm using vanilla Javascript for simplicity. The concepts were originally learned from a C# codebase, so it's all very generic & portable.
Getting started
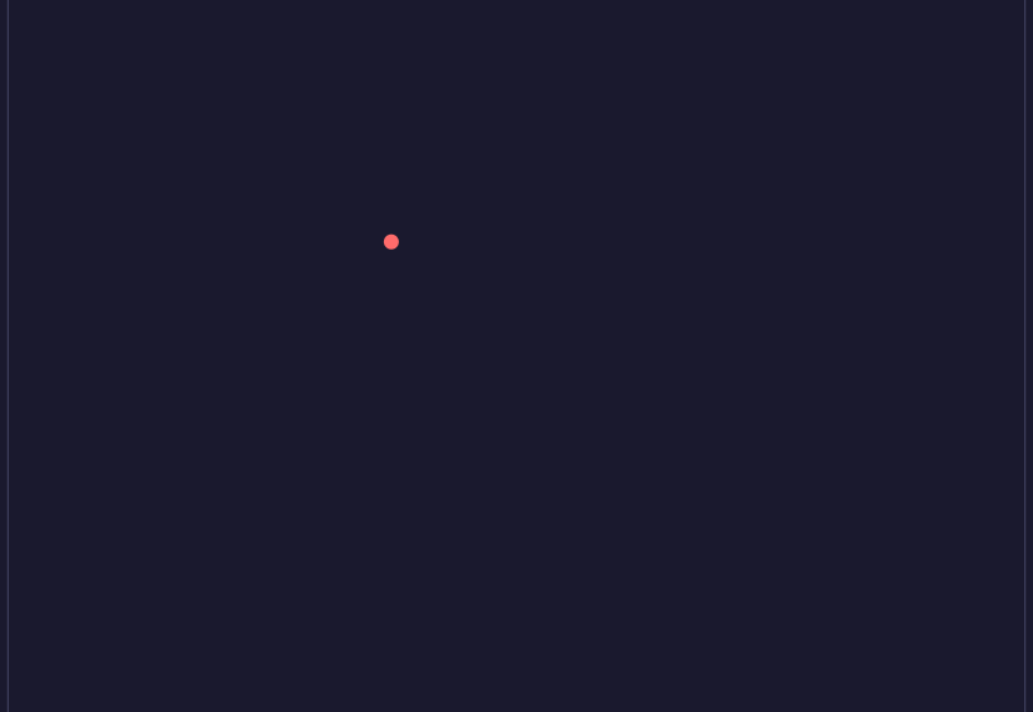
One of the first things many play around with when starting with any kind of game programming is the age-old bouncy ball.
Simply adding a certain value to the X and Y coordinates (with a bit of deltatime scaling to level the playing field with slower/faster machines):
// move the point position
px += dx * dt;
py += dy * dt;

// keep inside the boundary. Y direction essentially the same.
if (px < 0)            { px = 0;            dx = -dx; }
if (px > WORLD_WIDTH)  { px = WORLD_WIDTH;  dx = -dx; }
And you might get something like this, which is fun for about two minutes:
Point masses
Now...those that listened at school will have come across a little formula - F=ma - which, as it turns out, is quite useful in games to simulate, amongst other forces, gravity. Shift things around a bit, and you've got a = F / m. Quite simply, the acceleration of the object is calculated from the force acting on it divided by its mass. For our purposes, we're going to be treating the mass of our points as 1, which simplifies things a little.
From our acceleration, we can get the velocity - v = acceleration * dt - and with our velocity, we can change the position - pos = v * dt. This is the process of 'integration' - which is just about turning forces into movement. Putting it together, we get something like this:
// Acceleration = force (mass is 1, so a = F)
const ax = p.fx;
const ay = p.fy;

// Velocity changes by acceleration * time
p.vx += ax * dt;
p.vy += ay * dt;

// Position changes by velocity * time
p.x += p.vx * dt;
p.y += p.vy * dt;

// a little bit of bounce
if (p.y < bounds.bottom) {
    p.y = bounds.bottom;
    p.vy = Math.abs(p.vy) * bounce;  // Reverse and lose some speed.
}
Giving us a ball that falls gradually, with a little bit of bounce:

This is semi-implicit Euler in a nutshell. There are other methods - forward Euler, Verlet, RK4 etc - but the above is more than adequate for our needs and getting started. Using an alternative isn't always just a tweak, but the decision of which to use is a "later" thing. The general concepts are the same.
We now have our point masses with very little code, but it gets a little more fun with a little bit more....
Spring joints
Despite the effect they have, it turns out that spring joints aren't too complicated either - in theory OR in practice. A joint simply connects two point masses together, and has one job: keep them at the same distance apart from each other - known as the rest length. A spring, under compression, exerts a force to resist. Likewise, when stretched, it also exerts a force to pull it back. This behaviour, it turns out, has another equation - Hooke's Law - which is simply F=kd - the force is the spring's stiffness (k) multiplied by the displacement (d).
In code, this boils down to this, which would be ran for every joint in our system:
// How far is the spring from its rest length?
const displacement = distance - joint.restLength;

// Hooke's law: force proportional to displacement.
const springForce = stiffness * displacement;
On its own, this would likely give us a headache. A force would pull the spring back in a way that'd likely overshoot our target. Then we're applying a force to push it back out, then back in, and so on. A never-ending oscillation. This is where damping comes in handy - we calculate how fast the spring's length is changing, then apply a 'damping' force to calm things down a little.
// How fast is the spring changing length?
const relativeSpeed = (b.vx - a.vx) * nx + (b.vy - a.vy) * ny;

const dampingForce = damping * relativeSpeed;
And finally, Newton's third law - the total force is applied equally and oppositely to both points attached to the spring:
const fx = nx * (springForce + dampingForce);
const fy = ny * (springForce + dampingForce);

a.fx += fx;  // Pull A toward B.
a.fy += fy;
b.fx -= fx;  // Pull B toward A.
b.fy -= fy;
At this point - pun intended - you have your integrated point masses, with force of gravity. You have spring joints that can apply additional forces. Putting all this together (with only some simple visualisation and mouse interaction), you'll end up with actual softbodies - and they look something like this:
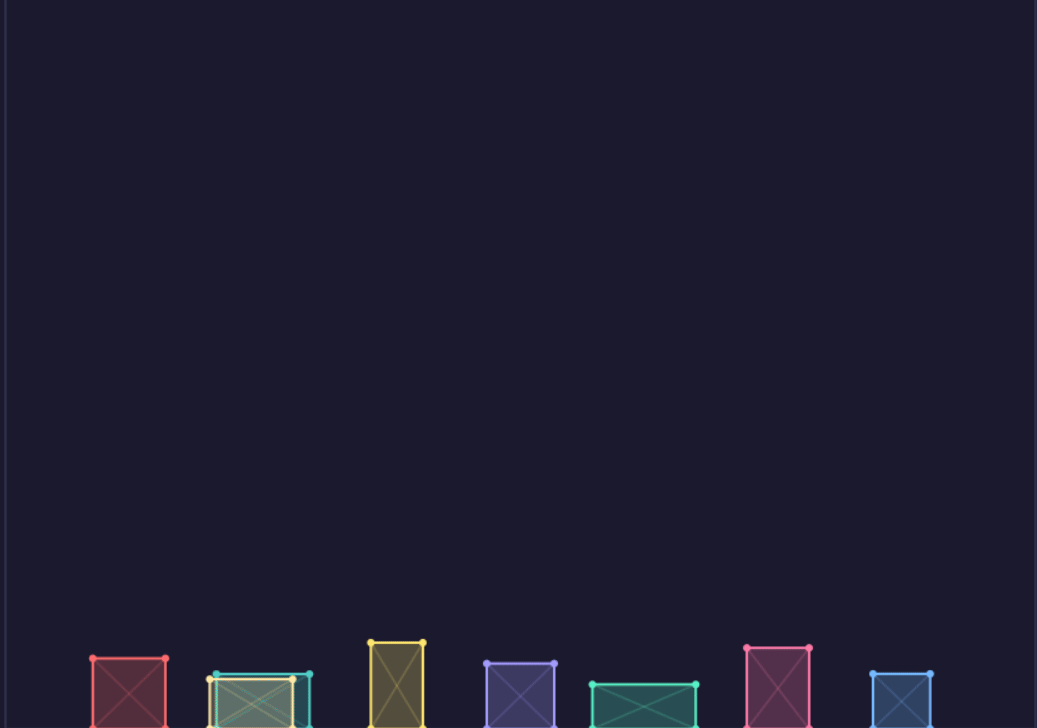
Each of these shapes is made of four point masses and six spring joints (four for the edges, two for the diagonal support to stop them collapsing).
So in barely 30 or so lines of key logic, some trivial boilerplate for holding things together and visualising, we've got something already quite fun. The third and final stage - collisions - is where things really come together.
Collisions
Collisions are ultimately the last piece of the puzzle to get a basic softbody demo "complete". They're also a fair bit more involved than what we've got so far, at least in practice.
One of the main draws of softbody for me though was how simple it was relative to what I'd already tried to learn about collision detection. The scope and maths behind it is (and probably always will be) a mystery to me, beyond the basics and perhaps then using Bullet or Jolt.
So let's start with the theory with regards to softbodies, because really, there's not much.
Ultimately, when our shapes collide, we want to make sure that we keep them apart, first and foremost. We also want to, based on perhaps how fast they're going or what angle they're moving, send them off on their merry way in their own direction at their own pace.
The points of our shape are defined in the order they are from one point to the next around the edge of the shape - the winding order. Which direction you go doesn't necessarily matter, as long as you're consistent and your code expects and reflects that. And whilst we don't have "edges" in our code, we know it's just the line between two adjacent points.
All of the collision logic we're concentrating on here focusses on "point-in-polygon" testing; are any of our point masses inside a shape. If they are, we push it out. We'll get to that last bit later.
It turns out the first part is conceptually easy:
- Loop each pair of shapes (we'll call them bodyA and bodyB).
- For every point on bodyA, check if it's inside bodyB
- To do this, we first start with the assumption that it is - and we cast an imaginary line (ray cast) from this point out in any direction. Doesn't matter, so we'll just choose right.
- We then count how many edges of bodyB we cross through along this line, with simple line intersection test.
- If the number of lines we cross is an odd number, then we must be inside the shape (because we cross the edge to escape). If it's even, then we must be outside. Concave or convex, this has us covered.
The point-in-polygon function accepts the point's x and y position, and a list of all points on bodyB - and returns true (inside) or false (outside):
function pointInPolygon(px, py, verts) {
    let inside = false;
    const n = verts.length;

    // Walk every edge of the polygon. Each edge connects vertex i to vertex j.
    // j starts at the last vertex so the first edge connects [last] -> [0].
    for (let i = 0, j = n - 1; i < n; j = i++) {
        const xi = verts[i].x, yi = verts[i].y;
        const xj = verts[j].x, yj = verts[j].y;

        // Two conditions for the ray to cross this edge:
        //   1. The edge must straddle the ray's y-coordinate. That is, one
        //      endpoint must be above py and the other below (or on) it.
        //   2. The crossing point must be to the RIGHT of px (since our ray
        //      shoots rightward).
        //
        // The second condition is checked by computing where the edge
        // crosses y=py and seeing if that x is greater than px.
        if ((yi > py) !== (yj > py) &&
            px < (xj - xi) * (py - yi) / (yj - yi) + xi) {
            // Each crossing toggles inside/outside.
            inside = !inside;
        }
    }

    return inside;
}
The process of looping every single point for every object and checking if it's inside another object, can get quite crunchy quite quickly. There are various early-outs we can do, including far simpler bounding box checks, spatial tests, etc. Some of this is in the provided source, other methods are for another day.
If our function returns false then our point is not inside the shape, so we can carry on to the next point.
If it returns true, however, our point is inside the shape and we have work to do. We need to find which edge on bodyB is the closest to our point, as that's the one we'll be pushing our point back through and also the one on the body we'll want to push too, ultimately resolving the collision. This involves looping all of the edges of bodyB again, keeping track of the smallest distance and also gathering extra details of that edge, such as its normal (which outward direction it's facing) and how far along the line the closest point is (0.0 or 1.0 would be each end, with values in between indicating somewhere along the edge).
And as far as the high-ish level details go, that's about it - we have:
- Our point, confirmed to be colliding
- Details of the edge it's colliding with.
Which then allows us to resolve it. When we've done detecting all of the collisions, we loop through all of the results and:
- Correction - physically separate the overlap:
- Nudge the penetrating particle outwards along the edge normal we gathered from the detection
- Nudge the two points at the end of each edge on bodyB inwards (i.e. opposite).
- Impulse - applying velocity and applying elasticity & friction.
There's little value repeating the code here as it's available to download and is commented.
But with all that in place, we're now looking good:
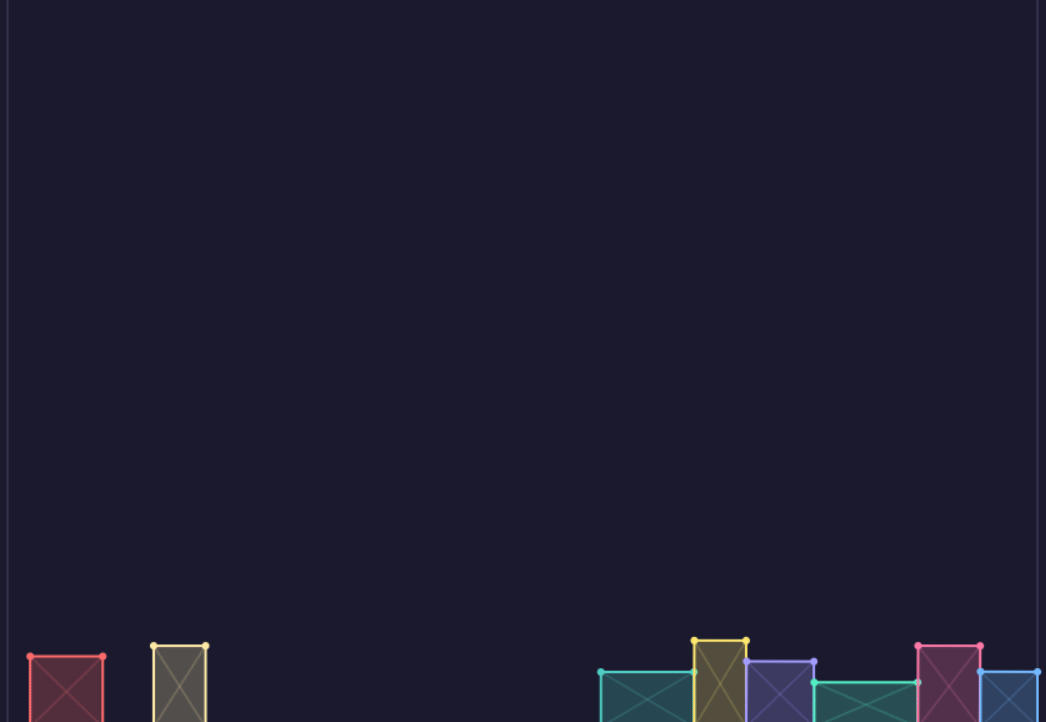
If you pay attention to later in the clip, you'll notice two issues: self-intersection (which satisfies all of the joint lengths still, so doesn't correct) and also a non-resolvable penetration, where the points have gone in but cannot find a proper escape. There are improvements and fixes for these things, but that's for another day!
Source code is on GitHub: https://github.com/bored-fish/softbodies